How to Recover from the Main Hard Drive on Windows
To recover from your main hard drive you will need to set another drive as your temporary storage location. You will be prompted to select this location if you choose to scan your internal startup drive. Follow these steps to recover from your internal drive:
Step 1
Open Data Rescue.
Step 2
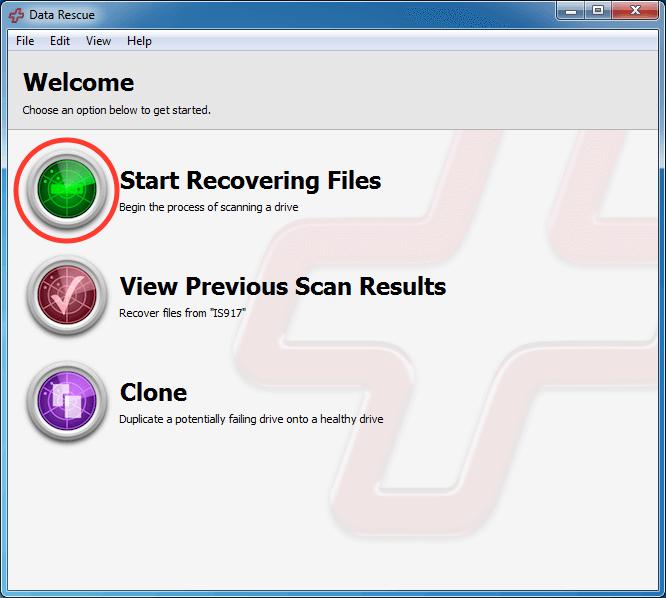
Select ‘Start Recovering Files’ from the Welcome screen.

Step 3
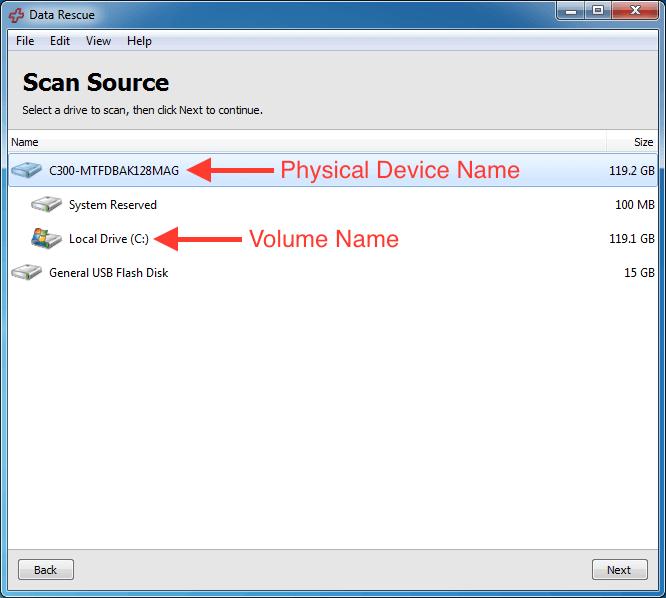
Choose your main internal drive from the source list and click ‘Next’. For the best results, we recommend choosing the physical device name rather than the volume name.

Step 4
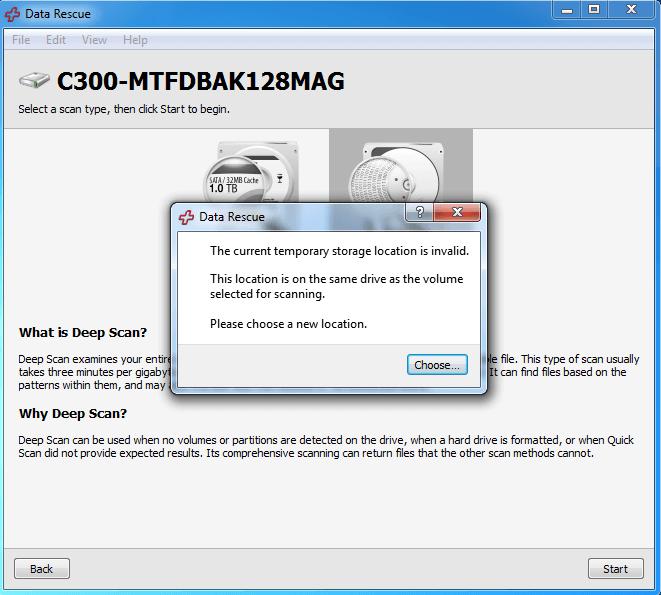
Choose either a Quick or Deep Scan for your device. Click either scan type to learn more about its uses, and click ‘Start’ when you are ready to begin your scan. You may receive a warning similar to the one pictured below. This warning will appear if your temporary storage location is invalid.

Step 5
The temporary storage location is a drive, or a folder on a drive, that is used during a scan to store persistent information found during a scan. A valid location must:
be located on a separate physical drive from the drive selected for scanning.
contain a valid Windows file system (FAT, FAT32, NTFS) with write-access (see below).
have enough free space to store information about the drive selected for scanning. This value is estimated to be 2% of the selected drive’s capacity.
Once you have selected your temporary storage location press ‘Choose’ to begin your scan.
Step 6
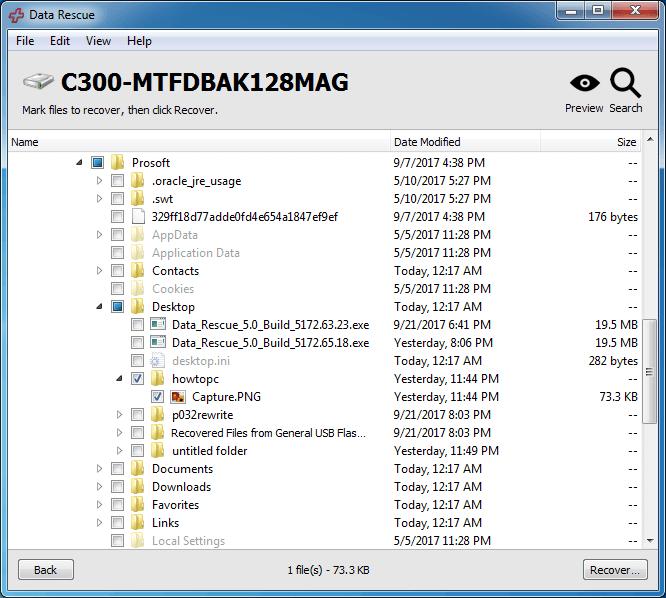
Once the scan has completed, you can mark files and folders for recovery.

Step 7
Once you have marked files and folders for recovery, press the ‘Recover’ button in the lower right. You will then be asked to select a destination for your recovered files. This can be any location other than the device you have scanned, including your temporary storage location if it has additional free space.